Headlights fade in slow motion. One season you notice a little cloudiness, the next you are squinting down a wet highway wondering when your beams turned into tea lights. Oxidized polycarbonate is the usual culprit, not burned-out bulbs. Ultraviolet exposure breaks down the outer layer of the lens, road grit etches micro-scratches, and heat cycles harden the surface. Once clarity drops, so does safety. The question most owners face is simple: fix the lenses you have, or bolt on new ones?
Both paths can deliver excellent results, but they are not interchangeable. The decision rides on material costs, labor, long-term durability, and the realities of your make and model. I have seen restorations outlast the car, and I have seen brand-new aftermarket housings look yellow within a year because the protective coating was little more than a rumor. It pays to understand what you are buying, and what each option can and cannot do.
What a proper headlight restoration actually does
A true headlight restoration is not a wipe-on miracle liquid. It is controlled abrasion followed by optical refinement and a durable UV barrier. In practice, a seasoned detailer measures the lens condition, wetsands through the damaged top layer with a graded sequence, polishes to remove micro-marring, then applies a coating that replaces the lost factory hardcoat.
The sanding stage is where the transformation happens. You are removing the dead skin of the polycarbonate. If someone “restores” your lamps and skips sanding, they are simply filling the scratches with oils that will evaporate. Good shops dry tape the edges and rubber seals, protect the paint surrounding the lens, and step their paper or discs thoughtfully. A typical progression might start at 600 to 800 grit if the oxidation is heavy, climb through 1000 and 2000, and finish at 3000 or even 5000 foam-backed discs. Machine polishing with a fine compound restores transparency. The final layer is non-negotiable: either a catalyzed 2K clear, a professional-grade ceramic coating rated for UV resistance, or a dedicated headlight coating. This barrier is the sunscreen your lens lost.
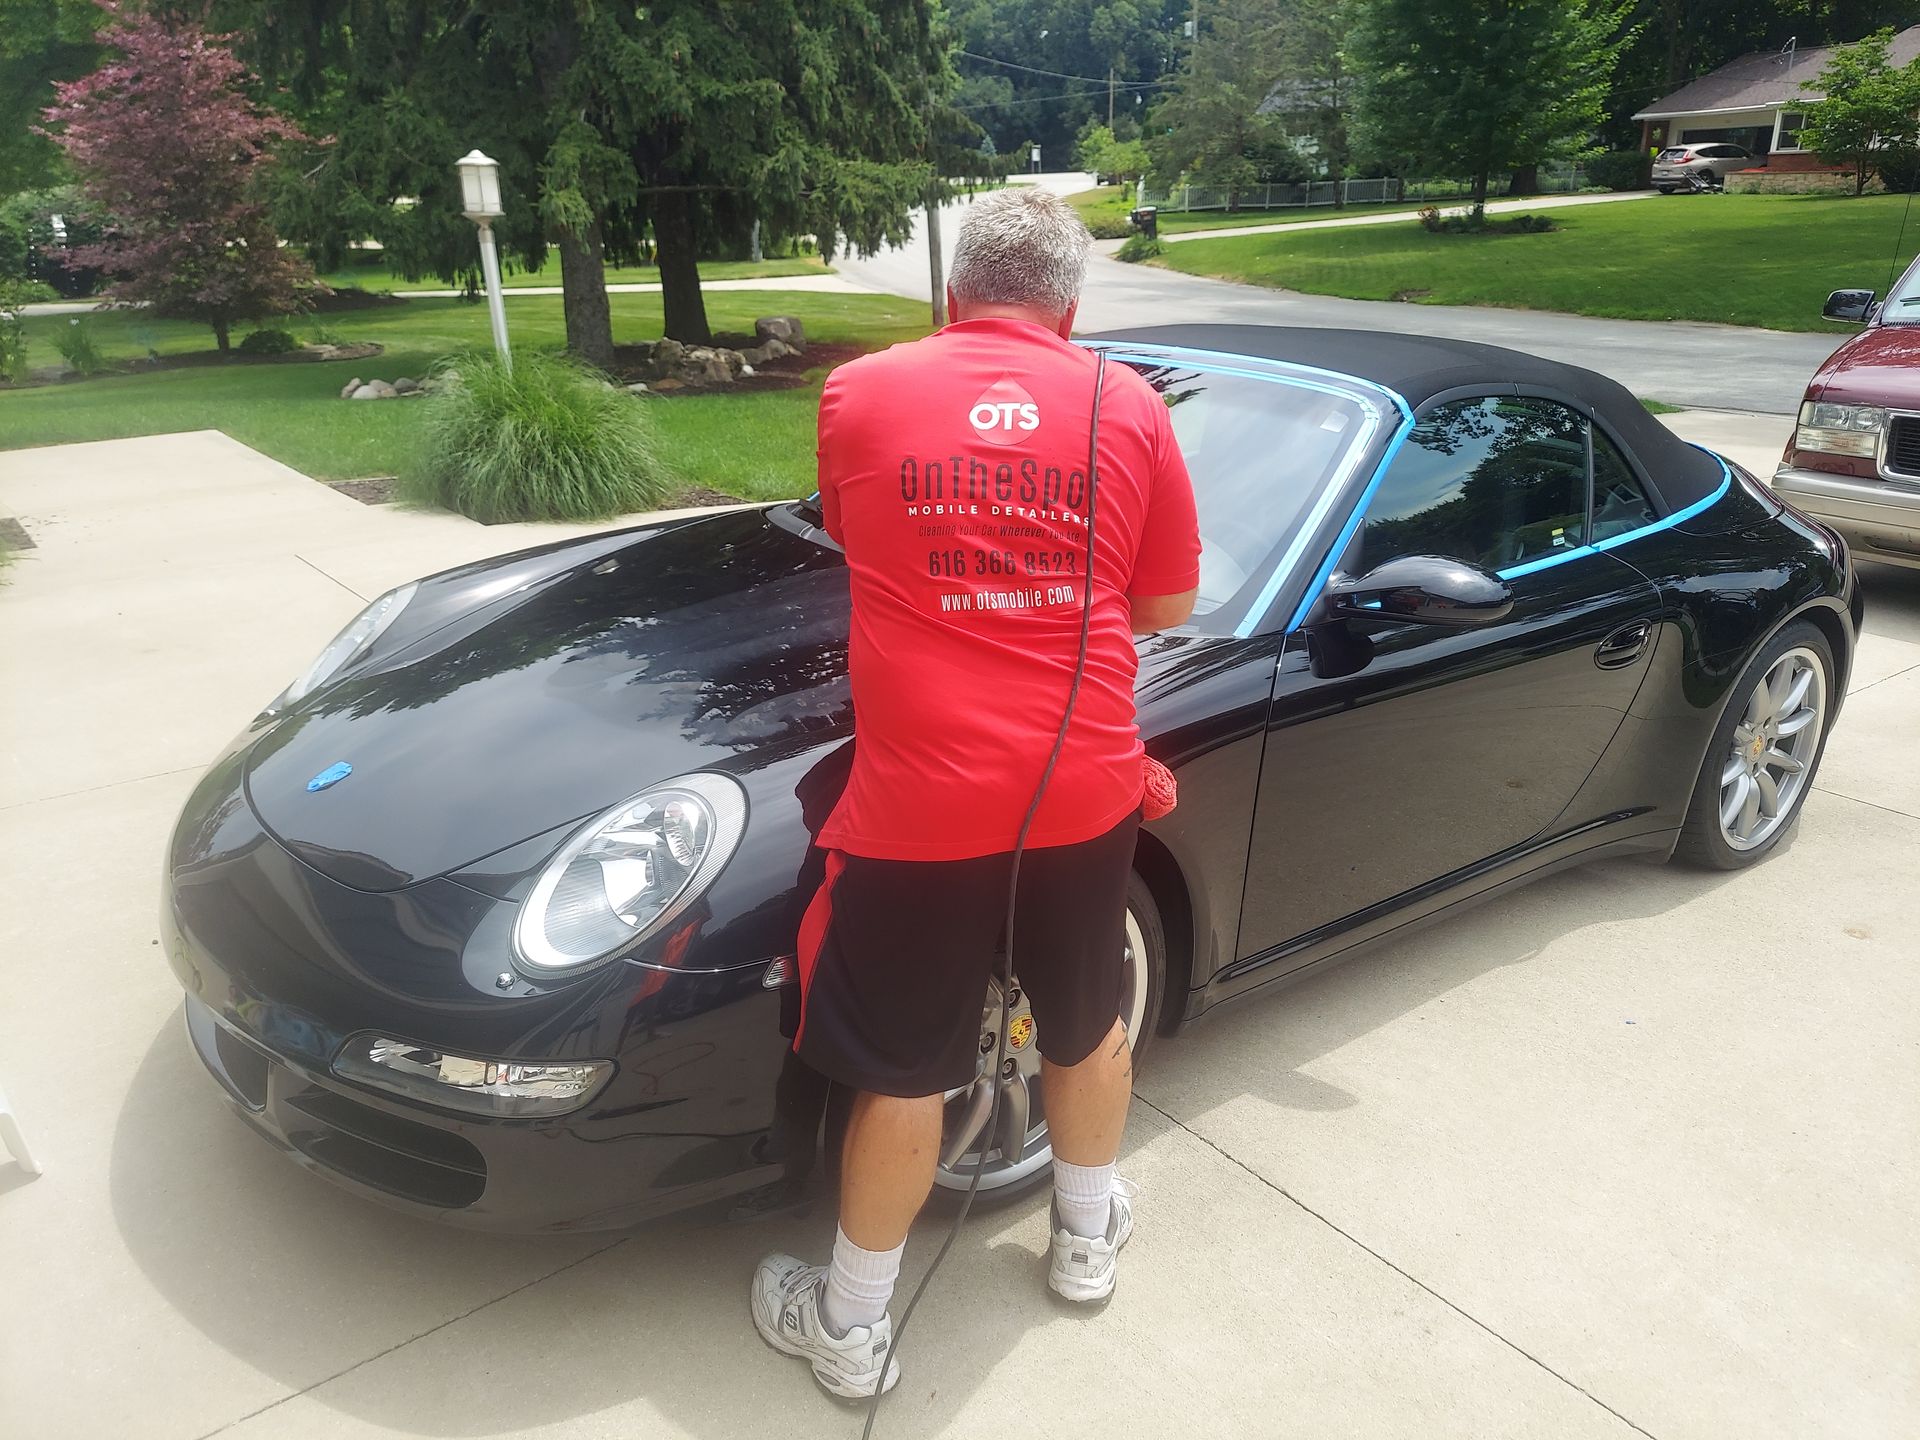
On the Spot Mobile Detailers treats the coating choice as a long-term investment, especially for vehicles that live outside. In our mobile detailing work, we match the coating to use case. A commuter that racks up highway miles and sits outside the office all day benefits from a thick, UV-stable layer. A weekend car garaged most of the time can live happily with a thinner, serviceable coating that allows easier maintenance later.
Replacement means more than a new lens
Replacement sounds straightforward until you price the parts. OEM assemblies can be jaw-dropping, especially when daytime running lights and adaptive units are integrated. Even halogen housings for common sedans can run several hundred dollars each at dealer list. Aftermarket options vary widely in price and quality. Some are excellent, close to OEM optics with robust UV coatings. Others haze early, leak, or scatter light in a way that draws unwanted attention during inspection.
The installation itself is often more involved than expected. Many modern front ends require bumper cover removal to pull a headlight. That means new clips, careful alignment, and time. If adaptive headlights need calibration, figure on an additional step with shop-grade tools. If you live in a region with road salt, seized fasteners can turn a one-hour job into three. Replacement is sometimes the right call, but it should be chosen with eyes open to the true cost, not just the sticker on a pair of housings.
Cost, realistically
There is no single number that fits all, but we can speak in ranges that hold up in the real world. Professional headlight restoration by a reputable auto detailing provider generally falls between the cost of a family dinner and a modest car payment, depending on severity and protection chosen. If you add a high-solids ceramic coating formulated for exterior plastics, expect the price to rise, and for good reason. The labor and materials are real, and cheap shortcuts fail quickly.
Replacement swings dramatically. Aftermarket halogen assemblies might be 100 to 200 per side, with a few budget units dipping lower, but the bargain bin is where UV protection often gets cut. Midgrade aftermarket housings typically live in the 200 to 400 range per side. OEM replacements can land anywhere from 350 to over 1,500 per side for complex LEDs or matrix systems. Add labor that can range from under an hour to half a day, and the math gets serious.
When we price jobs at On the Spot Mobile Detailers, we look at the whole picture, not just the line item. If restoration produces near-factory clarity and a durable coating at a third of the cost of quality replacements, it is hard to argue for new units on a daily driver. If the internal reflectors are burned, the lens is cracked, or moisture has etched the inside, even perfect exterior work will not restore beam performance. At that point, replacement earns its keep.
How results compare over time
Freshly restored headlights that received full sanding and a proper UV barrier are often clearer than faded original units and sometimes crisper than lower tier aftermarket replacements. Clarity out of the gate is only half the story though. Durability depends on the protection film you leave behind and how the vehicle is used.
I have seen 2K clearcoat systems keep lenses bright for three years and more with simple washes and occasional top-ups. Ceramic coatings alone can hold their own for one to two years on daily drivers, longer on garaged vehicles. Wipe-on sealants marketed as “restoration” often look great for a month then degrade as microlayers wash off. If your commute exposes the car to high-UV regions or you park under trees that drip acidic sap, move up the durability ladder.
New OEM assemblies typically arrive with a hardcoat that mirrors the original factory spec. If you respect them, they last as long as the first set did. Aftermarket is a gamble. Some brands invest in UV-stable coatings and high-quality polycarbonate, others cut corners. I once replaced a client’s pair of budget housings on a compact SUV after only eighteen months because the lenses started cobwebbing from light pitting and weak coating. We then restored and coated those same units, and they looked better a year later than they did out of the box.
Beam pattern and safety
Headlights are not just clear boxes. The lens curvature and internal optics shape the light. Sanding removes material, so the common fear is that restoration will distort the lens and ruin the beam. In practice, if you stay within the damaged outer layer and keep sanding even, you are not changing optics in a meaningful way. Most damage lies within the first few microns. The trouble starts when aggressive sanding dives unevenly or someone uses a rotary at high speed and heat-distorts the plastic. A careful detailer avoids both.
Replacement changes the equation, especially with aftermarket designs. Some look the part but scatter light. The beam cutoff, the hot spot location, and side spill all matter. A quick visual on a wall at 25 feet tells a story. If the cutoff is ragged or the beam rises on the wrong side, you may blind oncoming drivers and still not see well. For vehicles with HID or LED projectors, matching the right housing is critical. When we work on vehicles fitted with projector retrofits or upgraded bulbs, we always test beam aim and pattern after restoration or replacement, and we encourage an alignment check if the front end has been adjusted.
When restoration is the smarter choice
Restoration shines when the lens is hazy, yellow, or lightly pitted, and the internals are intact. If there is no moisture inside, the seals are good, and the reflectors and projectors are clean, you can reclaim a lot of performance. It is particularly compelling on vehicles where OEM parts are costly, or where aftermarket quality is suspect. The process preserves originality, which matters on late-model vehicles with integrated trims and on older cars where the factory look counts.
On the Spot Mobile Detailers often pairs headlight restoration with paint correction on the front clip. When the bumper, hood, and fenders are corrected, fresh lenses lift the whole face of the car. The visual balance matters, especially after a multistage correction. A hazy lens next to a crisp clearcoat stands out. We also top the restored lenses with the same family of ceramic coating used on the paint, or a dedicated lens product, so maintenance lives in one system. That makes reapplication simple: decontaminate, polish lightly if needed, and recoat on schedule.
When replacement is the honest answer
There are limits to what sanding and coatings can fix. If the lens is cracked, replacement stops the water ingress and saves wiring and modules from corrosion. If the inside of the lens is etched from years of moisture and heat, or if the reflector bowls have turned dull, no exterior work will rebuild the beam. LEDs integrated into modern headlights are often sealed. If one bank fails, the entire assembly is the service part.
It is also fair to choose replacement on late-model cars still carrying comprehensive insurance if the cost difference is marginal. Certain vehicles require adaptive headlight calibration or feature complex DRLs that a restoration cannot address if they are failing electrically. On premium models, matching the OEM appearance and output trumps the savings from restoration if the owner demands like-new performance and longevity.
The role of coatings after restoration and on new units
This is where detailers can either save mobile detailing you money or waste it. A coating is not magic, it is a tool. On new OEM headlights, adding a ceramic coating or a sacrificial film helps preserve the factory hardcoat, especially in sunbelt states. On restored headlights, the coating replaces the hardcoat you sanded away. The chemistry matters. A 2K clear forms a cured film with higher build and strong UV absorbers. Ceramic coatings designed for plastics crosslink into a thinner layer that resists dirt and UV but will not add as much physical thickness. Both can work. Choose based on exposure, expectations, and maintenance habits.
We learned this the hard way on a work van that lived on a construction site. The van ate coatings. Dust and frequent washdowns with harsh detergents eroded thin protection quickly. Switching to a thicker, catalyzed topcoat nearly tripled the interval before haze reappeared. In contrast, a garage-kept coupe we service receives a light ceramic layer on both paint and lenses every 18 months as part of its car detailing program, and the lenses still test crystal-clear with a light meter.
DIY kits vs. professional restoration
Big-box kits can work, but they demand patience and a realistic view of materials. The discs are small and wear quickly, the instructions often skip grits, and the sealants are short-lived. You can absolutely improve a pair of headlights on a Saturday with a kit. The results can look great for a while. The gap shows up a few months later, especially in summer, when the thin sealer oxidizes. If you are after a quick improvement for a vehicle you plan to sell, a DIY kit can make sense.
Professional restoration brings better abrasives, machines to keep the cut even, and coatings you cannot buy off the shelf easily. It also brings experience. The first time you sand a lens, you will feel a surge of doubt when it turns milky white. A pro knows how far to go and how to bring it back. There is also risk management. A technician will mask trims, measure thickness visually and by feel, and avoid burning edges. That reduces the chance of collateral damage that costs more than new headlights would have.
How headlight work pairs with broader detailing
Headlight clarity is part of the vehicle’s overall appearance and safety profile. In our experience, restoring lenses often dovetails with paint correction because the same enemies attack both surfaces: UV, contaminants, and washing damage. Correcting swirls and light scratches on the hood and fenders then protecting them with a ceramic coating sets a standard. The newly clear headlights match the refreshed panels so the front of the car reads as one surface. The eye catches that harmony even if the viewer cannot pinpoint why the car looks younger.
We extend that logic across services. Wheel coating keeps brake dust from baking on, making weekly washes effective with less agitation that can sling grime onto the fresh headlights. Interior coating on high-touch areas resists oils and dyes that migrate when hands move from the door to adjust lights. For clients with boats and RVs, we see similar oxidation patterns on marine detailing and rv detailing projects. The polymers differ, but the UV story repeats. If you learn to protect the lens on your car, you already understand why gelcoat chalks on a hull and how ceramic coating can slow it. The vocabulary of protection travels well.
Moisture, vents, and myths that drain wallets
One of the more persistent myths says moisture inside a headlight always means the seal failed. Not necessarily. Most housings are designed to breathe through vents so pressure equalizes. Quick fogging after a wash that clears within an hour can be normal. Persistent droplets that pool or a stripe of mineral scale suggest a leak. Before replacing an assembly, inspect the rear cap, the bulb grommets, and the housing seam. Cleaning vents and reseating caps can solve the problem cheaply. If you ignore it, that moisture etches the interior and forces replacement eventually.
Another myth says brighter bulbs will fix hazy headlights. They do not. Hazing diffuses light before it leaves the lens. You’ll dump more lumens into a diffuser and blind yourself with near-field glare. If you have upgraded to LED or HID in a reflector housing, you may also be violating regulations and creating a beam pattern that is both unpleasant and unsafe. Restore the lens first, aim the lights, then decide if a bulb upgrade makes sense within the headlight’s design.
A practical decision path you can trust
Here is a simple way to think it through without spreadsheets or wishful thinking.
- If the lens is yellowed or lightly pitted, the inside is clean and dry, and the beam pattern was fine before hazing, choose professional headlight restoration with a durable UV barrier. If the lens is cracked, moisture has etched the inside, or the reflectors are dull, choose replacement and budget for quality assemblies and proper alignment. If aftermarket options have poor reviews for your model, lean harder toward restoration to keep OEM optics. If the vehicle is newer with advanced lighting and under warranty or insurance coverage, replacement may protect long-term value. If you drive and park mostly outdoors in high-UV conditions, prioritize the thickest, most UV-stable protection after restoration, or protect new units immediately.
This decision path lines up with what we see day to day. Owners who restore early, then keep a protective layer fresh, often avoid replacement for the rest of the car’s life. Owners who replace with high-quality assemblies and then protect them enjoy years of clarity, just as they did with the originals.
How On the Spot Mobile Detailers approaches the work
Two vehicles can look equally cloudy and need different solutions. On the Spot Mobile Detailers starts with a quick diagnostic: exterior inspection under polarized light, interior check with a borescope if needed, and a beam test on a flat surface at dusk. If restoration is viable, we document the starting point, then proceed with a controlled sanding and polishing sequence. Edges and emblem areas get extra care because plastic tends to thin and heat there.

Protection is matched to the environment. Fleet pickups that live outdoors receive a heavy-duty topcoat, while family sedans that sleep in a garage get a ceramic system that marries well with the paint’s coating. We schedule a check-in after the first season. If a lens shows signs of early stress in a specific area, such as the upper outer corner that bakes under the sun, we adjust the maintenance plan instead of waiting for general haze to return.
Our mobile detailing setup lets us tackle these jobs where the vehicle lives, which often improves results. We avoid unnecessary removal and the risk of clips or paint damage, yet we bring the same machines and coatings we use in the shop. When a vehicle truly needs new assemblies, we say so and help the owner select parts that match optics and durability rather than just price.
Edge cases that complicate easy answers
European models with polycarbonate lenses bonded to complex LED DRLs can make restoration tricky if heat builds up near sensitive seals. We shorten polishing cycles and monitor temperature. Some trucks have headlight lenses that flare outward and are easy to burn on the crest if a rotary is used. On those, a dual-action tool with modest pressure keeps the heat down. Older vehicles with glass lenses can be polished for clarity but do not need UV coating the way polycarbonate does, yet the rubber gaskets around them may crumble with masking, so prep gets gentler.
Then there are the cars with plastic covers over projector modules where the outer lens is fine, but the inner cover is fogged. If the module is accessible, internal cleaning and a mild polish of the cover can restore focus without replacing the entire unit. If it is sealed, replacement is the rational choice. We evaluate each case so the owner is not paying for heroics that will not last or a replacement that a careful restoration could have avoided.
Maintenance that makes results stick
A good result dies early under bad habits. Automatic washes using aggressive detergents strip protectants and leave fine scratches. So do dry wipes to remove dust. Treat your restored or replaced headlights like the rest of your corrected and coated paint. Use balanced shampoo, soft mitts, and clean drying towels. Top with a maintenance spray that plays well with the underlying ceramic coating or clear. If you notice bug splatter baking on the upper halves in summer, pre-soak with a bug-safe cleaner before washing. On vehicles with wheel coating, brake dust tends to rinse cleaner, which reduces abrasive grit that can sling onto headlights during washes.
If you are deep into auto detailing, you already know the routines. If you are new to it, think of your headlights as part of the same system that includes paint correction on the hood, ceramic coating on high-impact areas, interior coating on steering wheels and armrests, and even protective routines you might use in marine detailing or residential coating work on exterior doors and trims. Sun, dirt, and friction write the same story on all of them. Smart maintenance edits the ending.
When aesthetics meet function
Clarity looks good, but the best part is seeing further down a dark road with less strain. Haze raises glare, which fatigues your eyes. A well-restored lens sharpens the cutoff and lets your pupils relax a touch. That comfort shows up on long drives. It also shows up when you pass inspection without a note about light output. If you enjoy the art of car detailing, a clear headlight next to a glossy, corrected fender is hard to beat. It makes a ten-year-old car look five years younger. If you run an RV or tow a boat at night, those clear lenses on the tow vehicle matter even more, because a fully loaded rig stretches stopping distance. Seeing earlier is not optional.
Real-world vignettes
A late-model crossover came in with headlights that looked like they had been sandblasted near the outer top edges. The owner parked at work facing south. UV hammered the same zone daily. We restored the lenses, but we also recommended a parking change. Six months later, the coating still looked fresh across the whole surface, not just the lower shaded half. Small habit changes preserve results.
Another case involved a compact sedan with budget aftermarket lights installed after a fender-bender. The beam pattern was a mess. The owner thought brighter bulbs would help. We convinced them to go back to OEM housings, then protect them with a ceramic layer. The beam sharpened instantly, the output measured higher on a light meter at the hot spot, and oncoming drivers stopped flashing their brights. A year later, the lenses remained crystal-clear.
We also serviced a delivery fleet where time off the road costs money. Replacement would have sidelined each van for half a day. Restoration with a fast-curing topcoat took under two hours per vehicle onsite, including masking and curing time with IR lamps. The fleet manager reported fewer nighttime complaints from drivers and postponed replacements across the board.
The bottom line without the fluff
Restoration is usually the value leader when the lens is cosmetically damaged outside, the internals are sound, and you commit to real protection afterward. Replacement is the right move when the damage is structural or internal, or when quality assemblies are available at a price that makes long-term sense. Pay attention to coatings in both scenarios. A seasoned detailer can tilt the math in your favor by extending the life of whatever lens you end up with.
On the Spot Mobile Detailers has restored thousands of headlights in the field and replaced enough to recognize the patterns. We have learned to measure success in seasons, not days. When someone circles back a year later with lenses that still snap clear at dusk, that is the win. Whether you choose restoration or replacement, aim for that outcome. It is the combination of materials, technique, and care after the job that decides how long your clarity lasts.